What is a Drop Shadow?
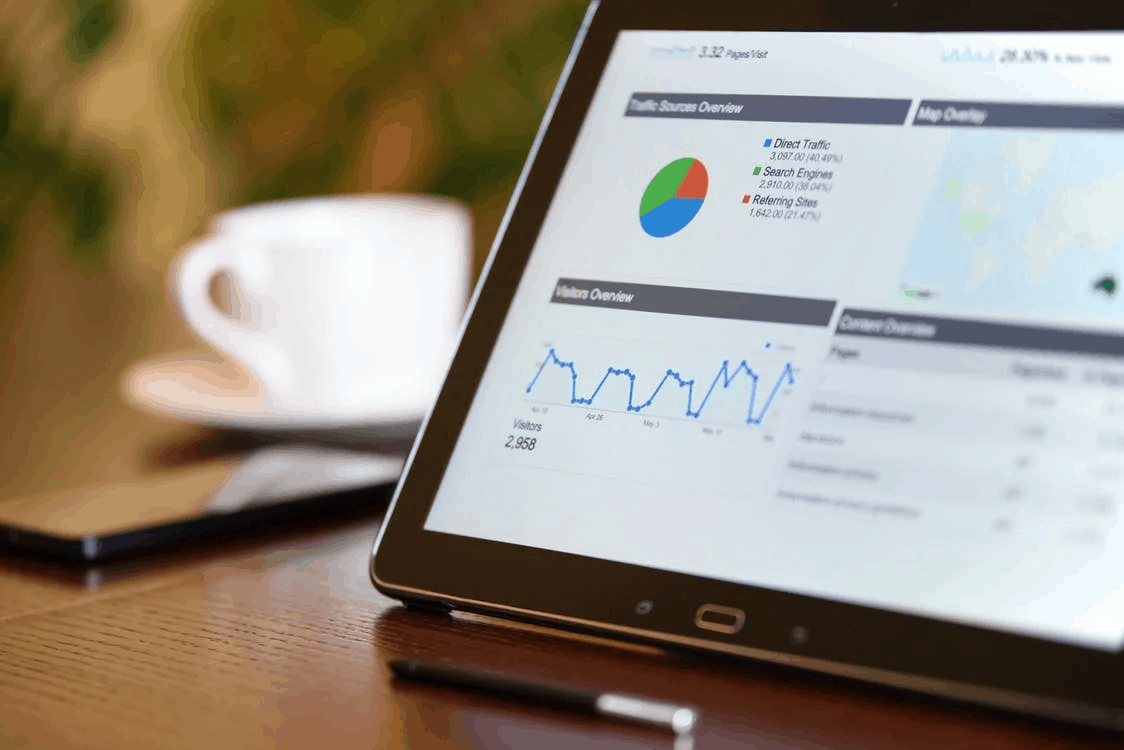
A drop shadow is a visual effect used to give depth to graphical designs by creating the impression that an object is raised above the objects behind it.
Depth can be a powerful element in the world of graphic and web design. So, Tableau is for visualizing data, can the drop shadow effect be used? The short answer is Yes, for certain things. In this article, I'll show you an approach for containers & buttons (tableau 2018.3):
It should be noted that Tableau is frequently updating it's dashboard design elements. We daily Tableau Users are hoping that there will be an easier, more scalable way of creating container drop shadows in the future (maybe with an extension?). But for now, here is one way to achieve this visual effect on a dashboard.
Want to learn more about Tableau and data management? Reach out to us at Zuar today!
Drop Shadows in Tableau 2020 - Update
As Tableau releases new features every quarter, we at Zuar continue to look for powerful new ways to Tableau. For those looking for a quick, easy, flexible, and low maintenance way of create shadowed dashboard containers, check out this 3 step version before exploring Material Design inspired method.
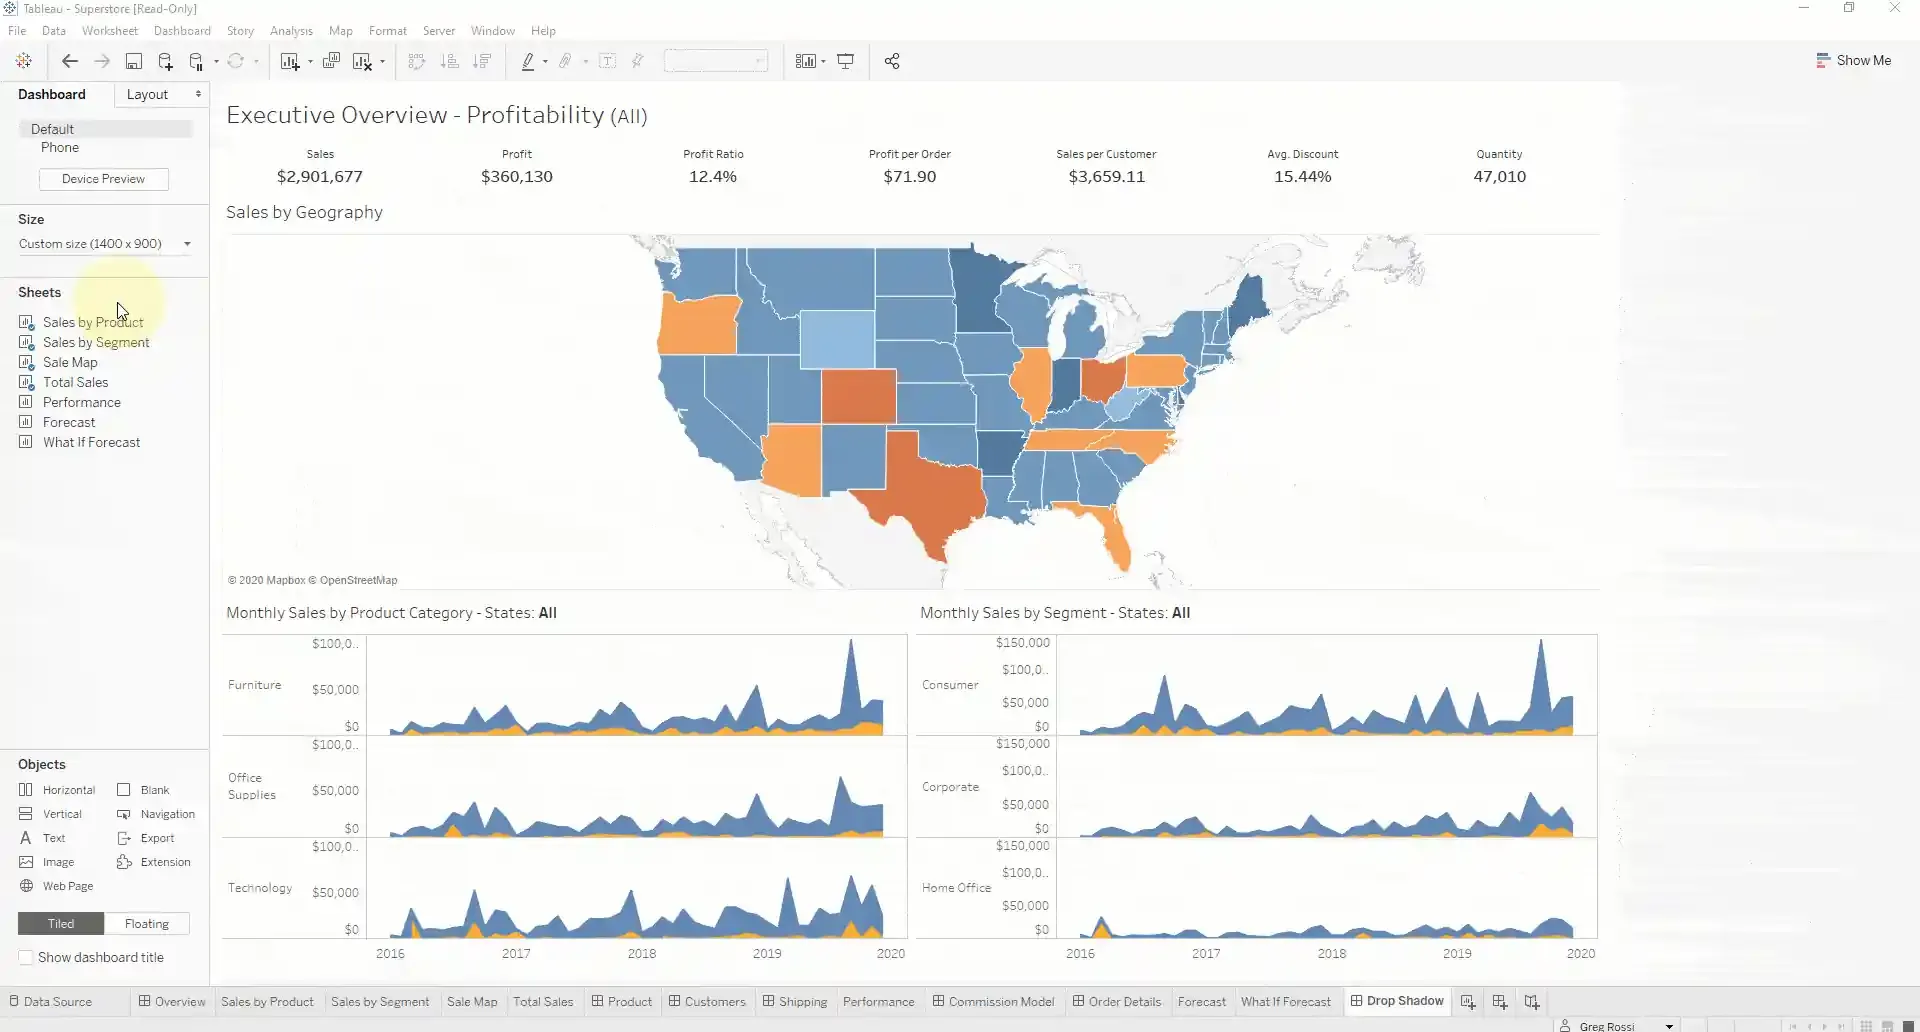
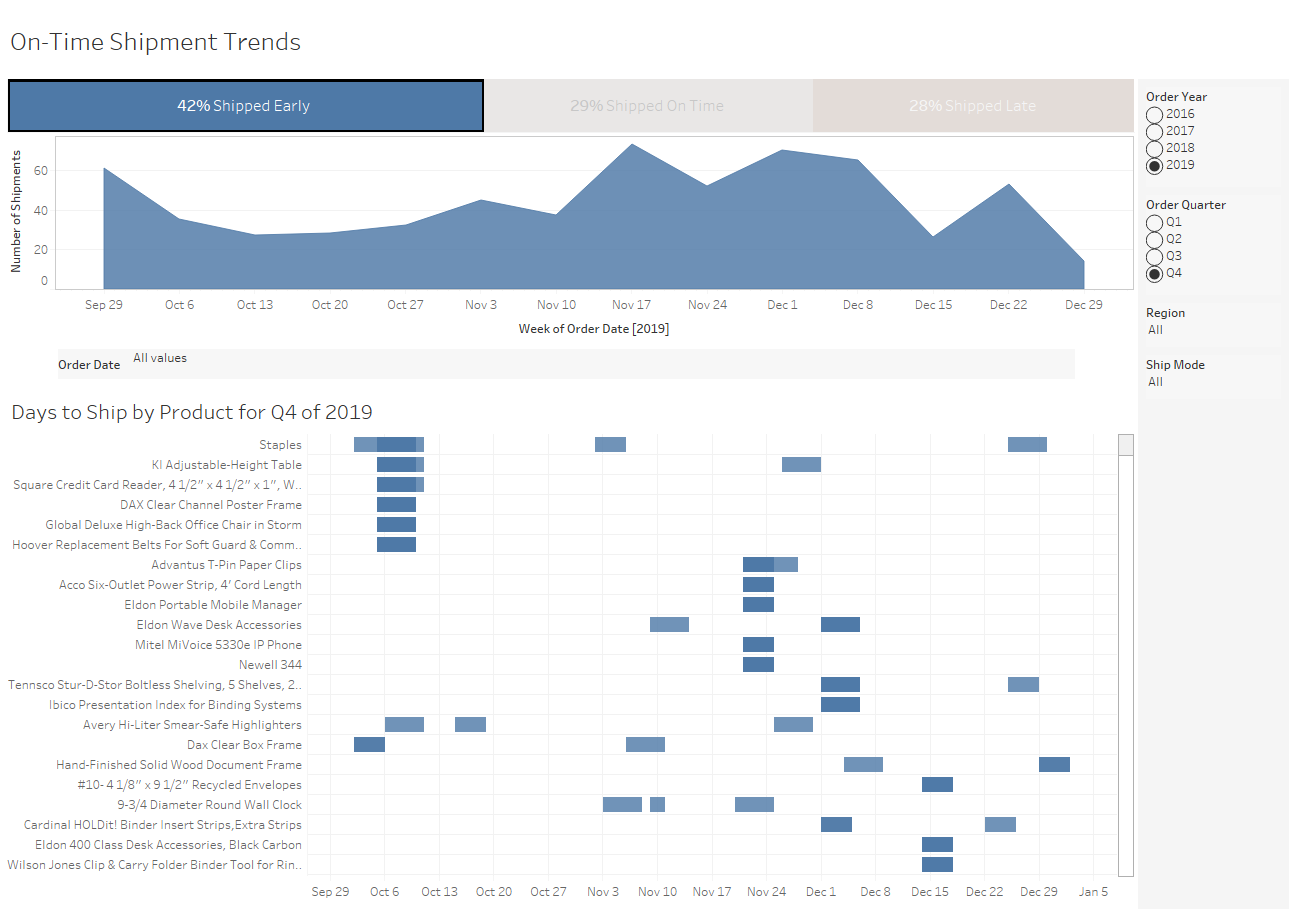
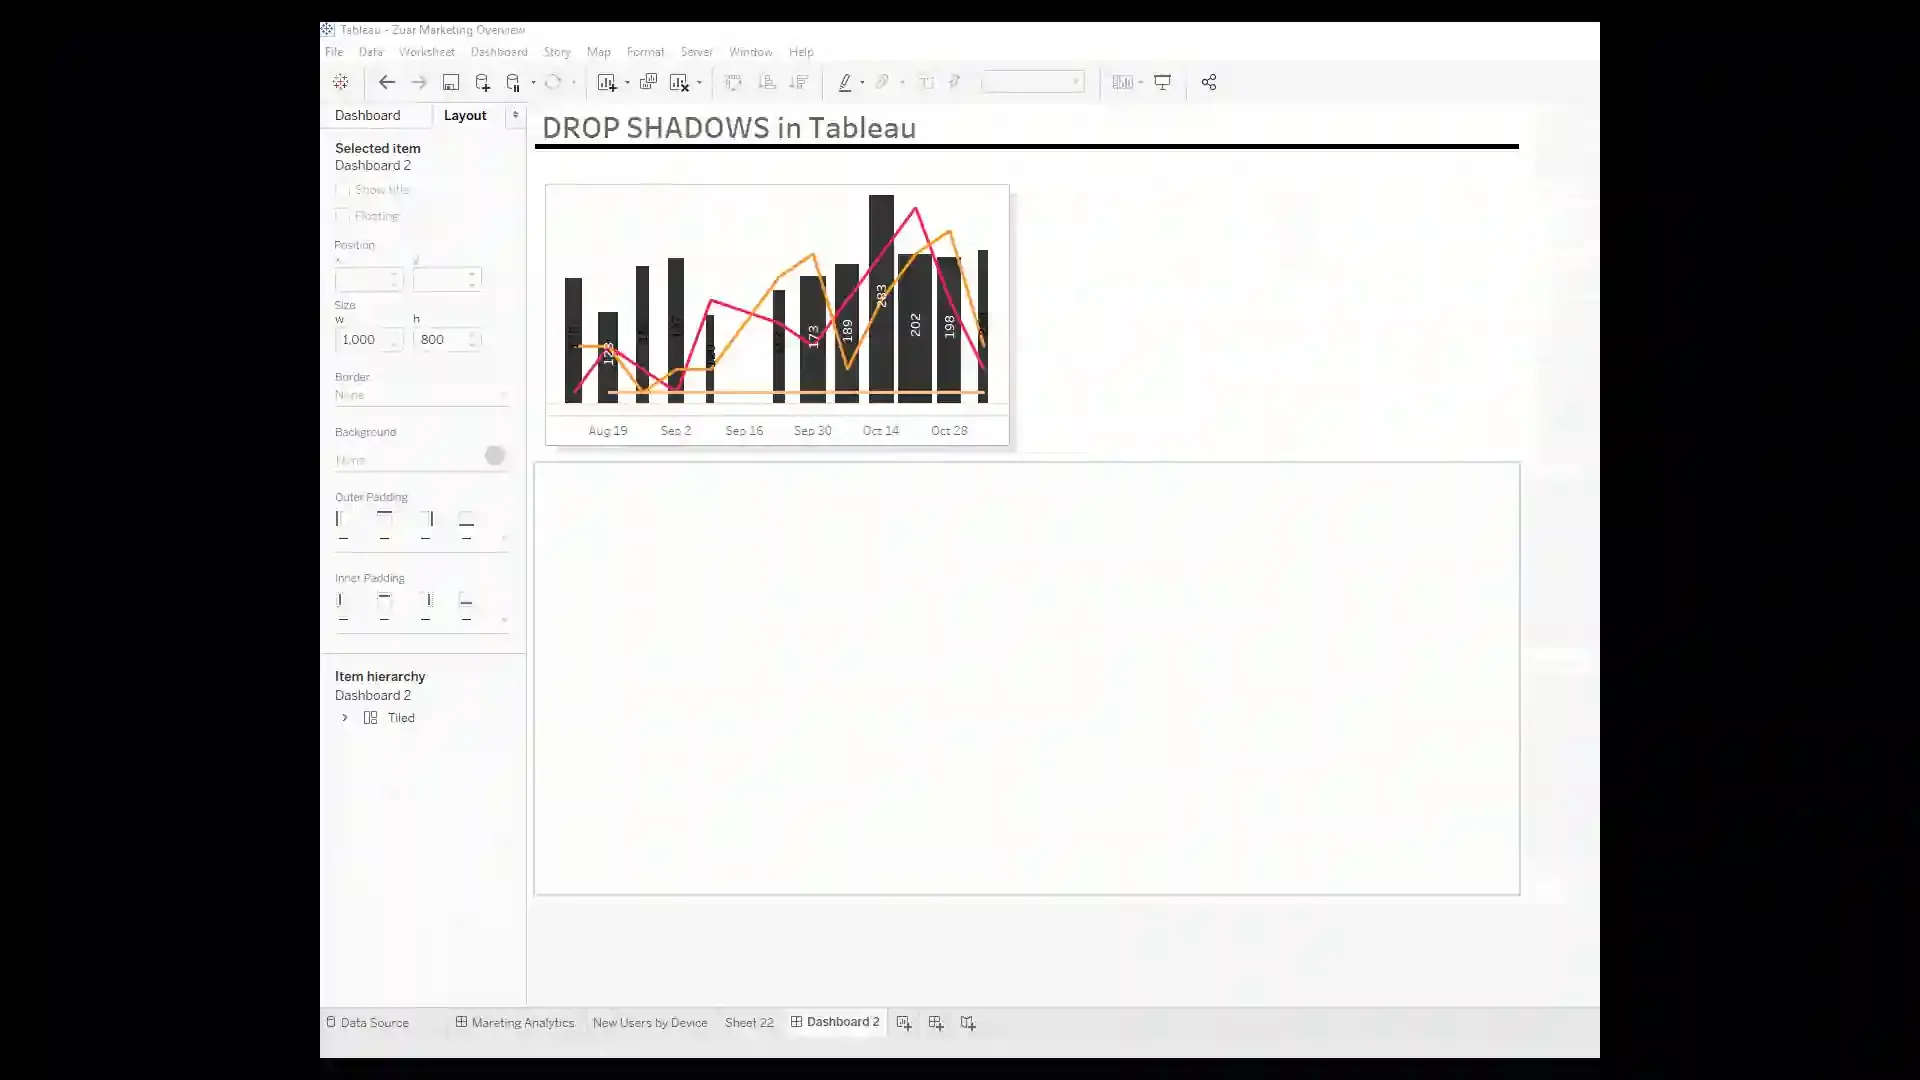
For this example I will be adding them to the Overview Superstore dashboard! Check out this additional example!
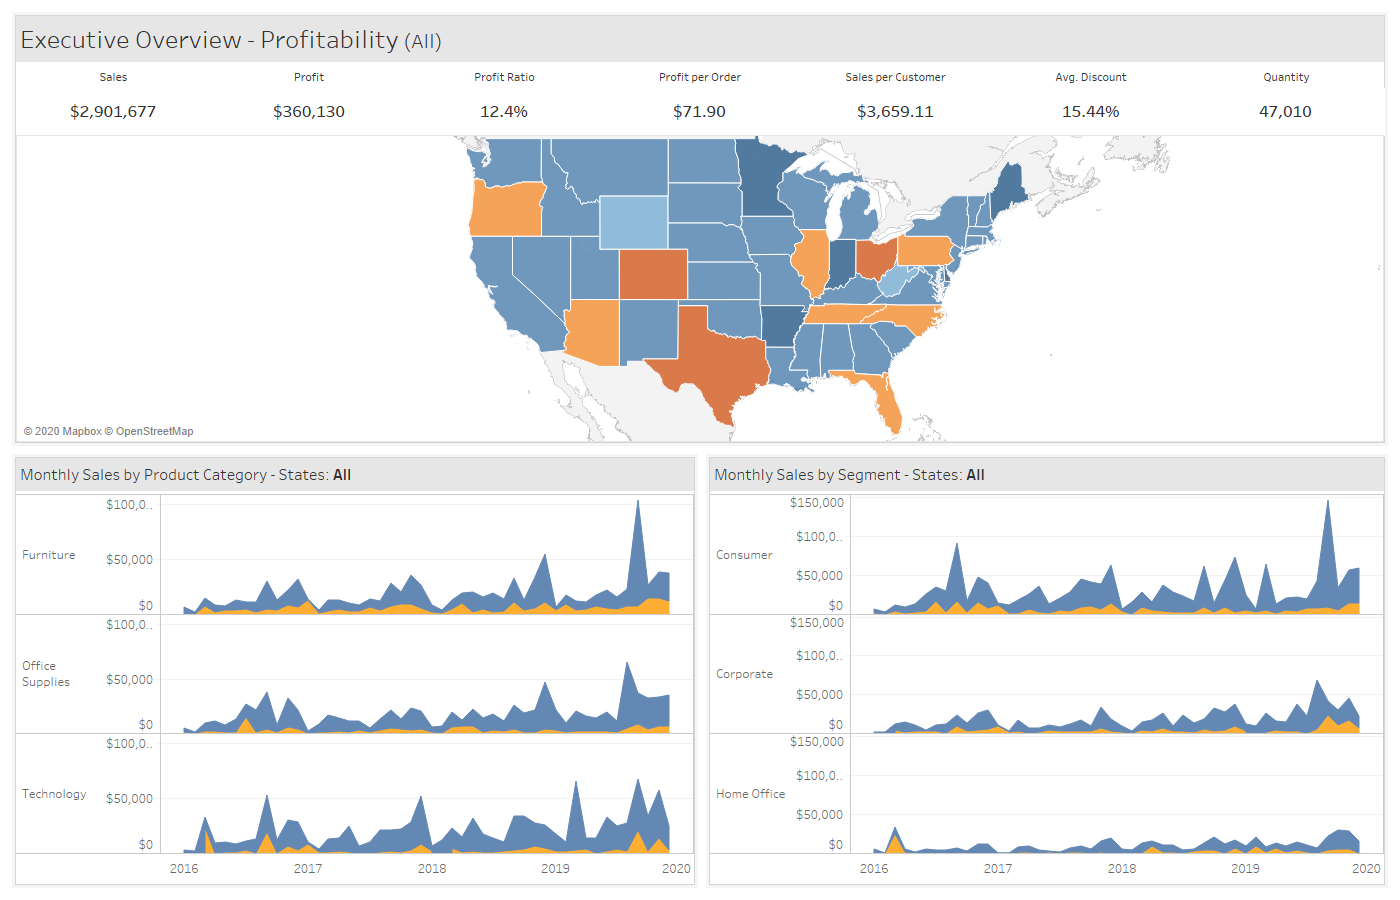
Tableau Dashboard Sheet
After you have created the sheets that will be situated on the dashboard:
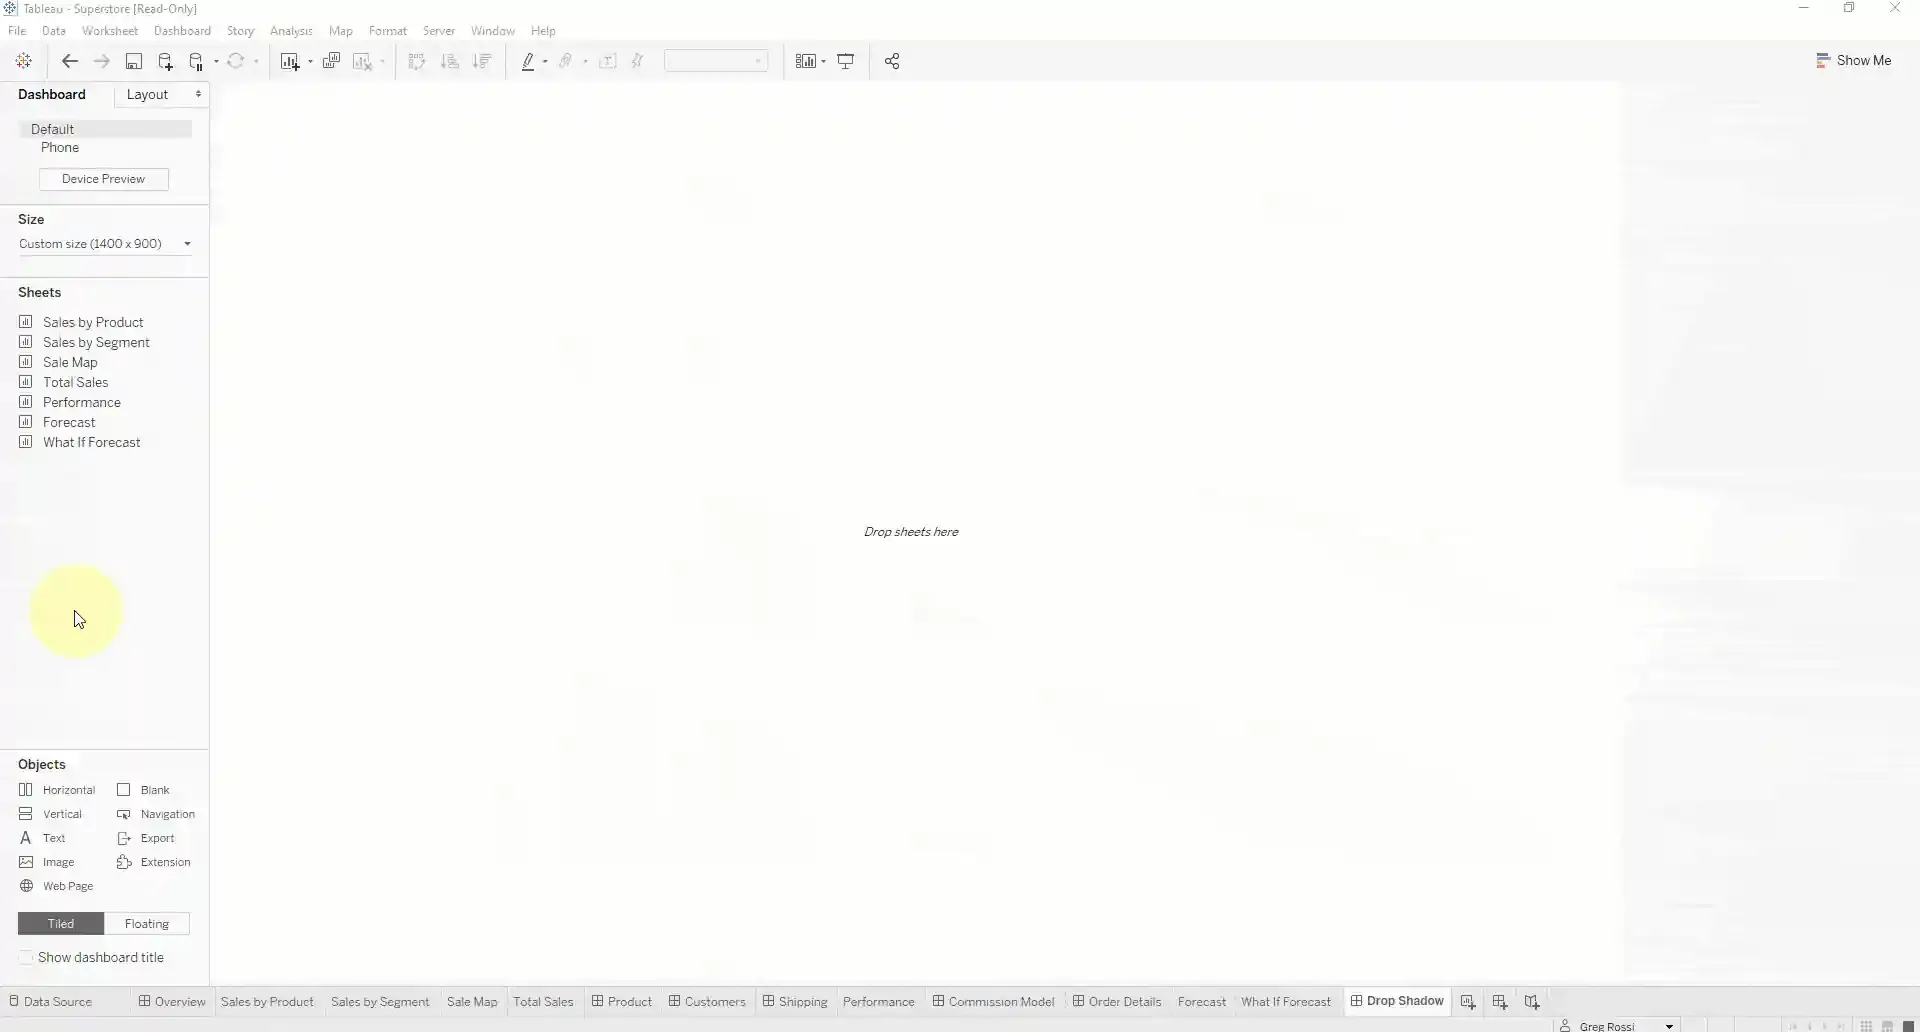
1. Drag out Vertical or Horizontal Containers
- Depending on if you will have sheets above/below each other or side-by-side, drag out a vertical or horizontal container respectively. For this example I will drag out a Vertical for the top half and Horizontal for the bottom half
- Stack sheets on above/below each other in the Vertical Container.
- Stack sheets side-by-side in the Horizontal Container.
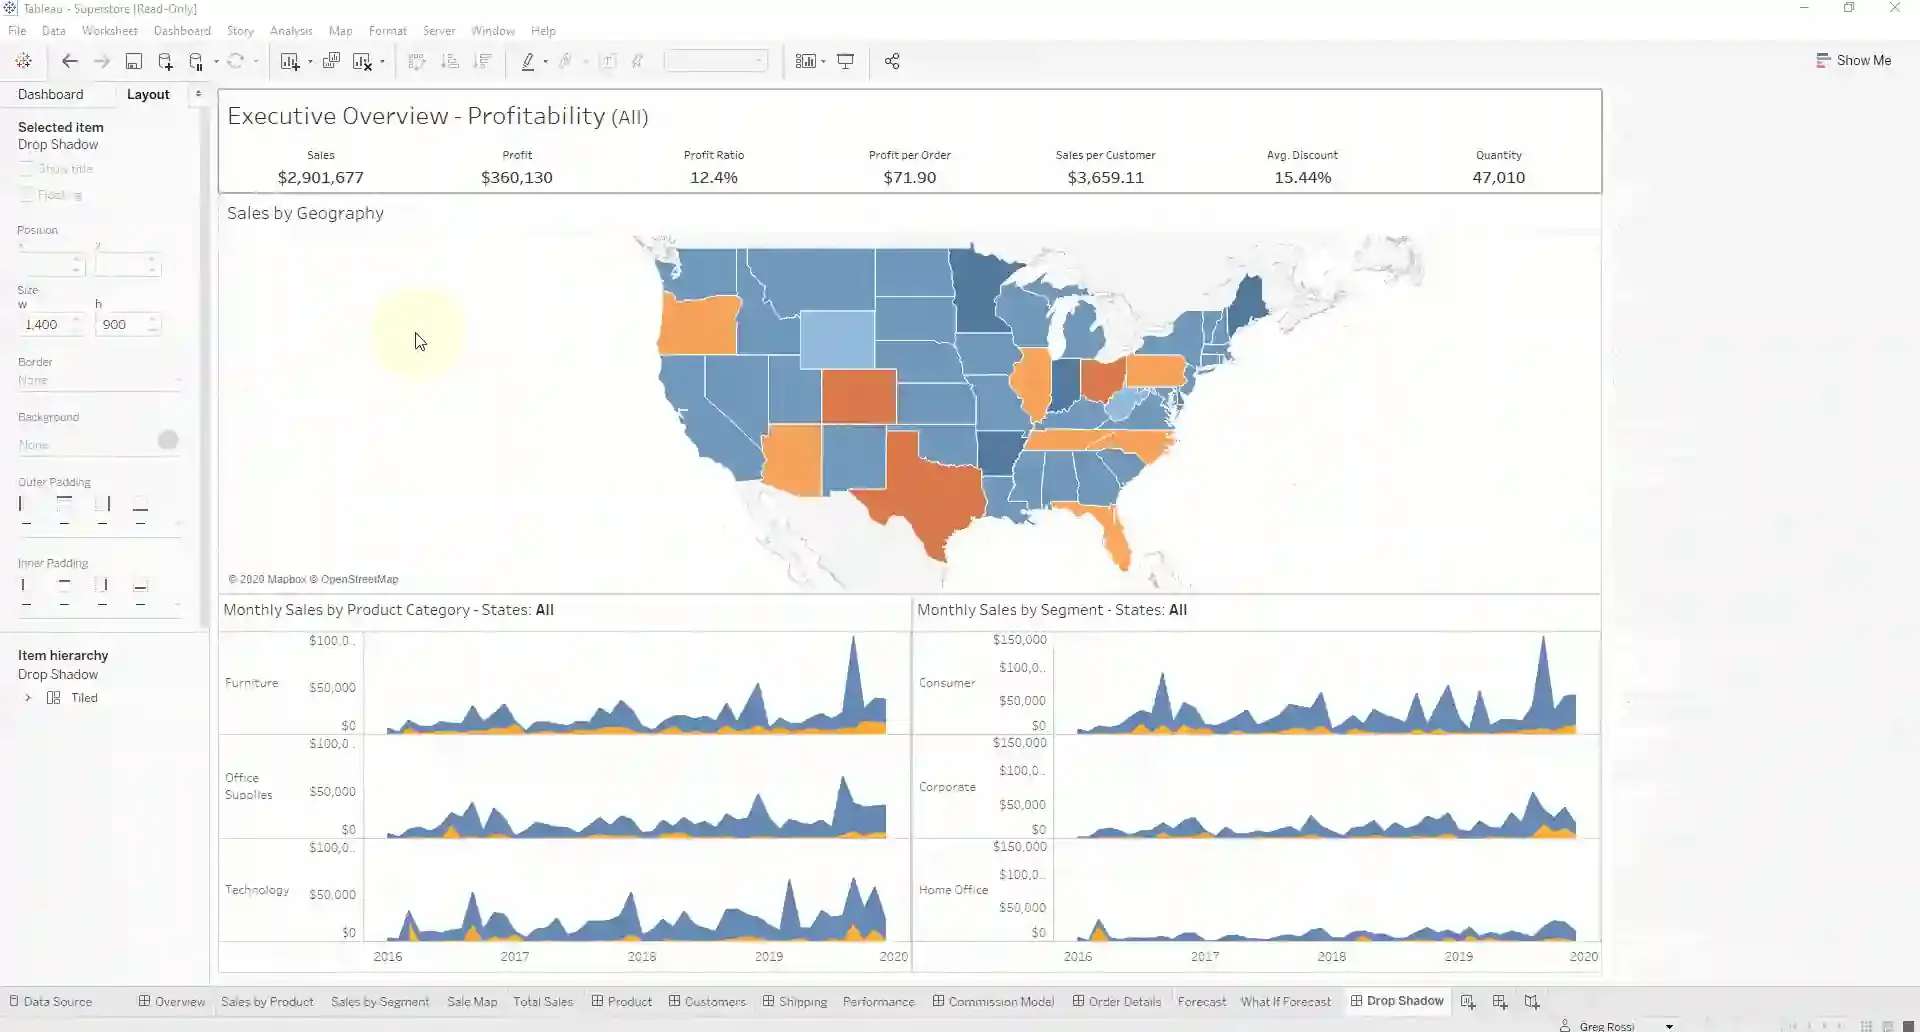
2. Add Borders
- Add visible borders to sheets or containers that you would like to have the card like appearance by selecting the sheet or double clicking the sheet handle to select the container.
- Select Layout pane on the left
- Add a border using the smallest line size and select the third gray color down from white
- Remove all padding
3. Add an Additional Vertical Container for the Shadow
- Add a Vertical Container next to bordered sheet/containers created in steps 1 and 2.
- Drop the original sheet or container into this additional Vertical Container.
- Double click the container handle to grab the newly added Vertical Container
- Add a border using the 3rd largest border size and use a light gray color (1st option under white) to act as a shadow.
- Add Outer Padding of 3-5
That's it! This method should help create some visual differences between the contents and is flexible enough to be used for mobile, tablet, alternative layouts!
Drop Shadows in Tableau Before 2020: Material Design Inspired Container
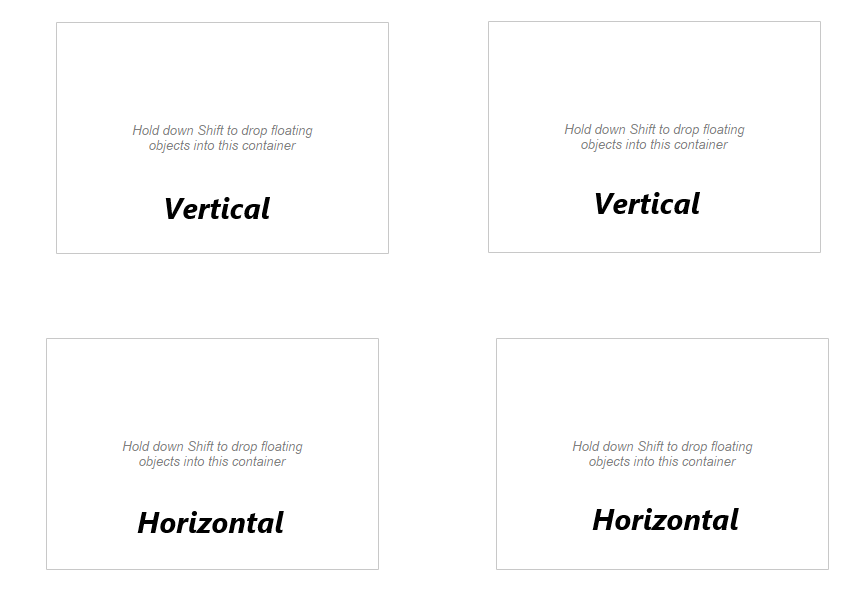
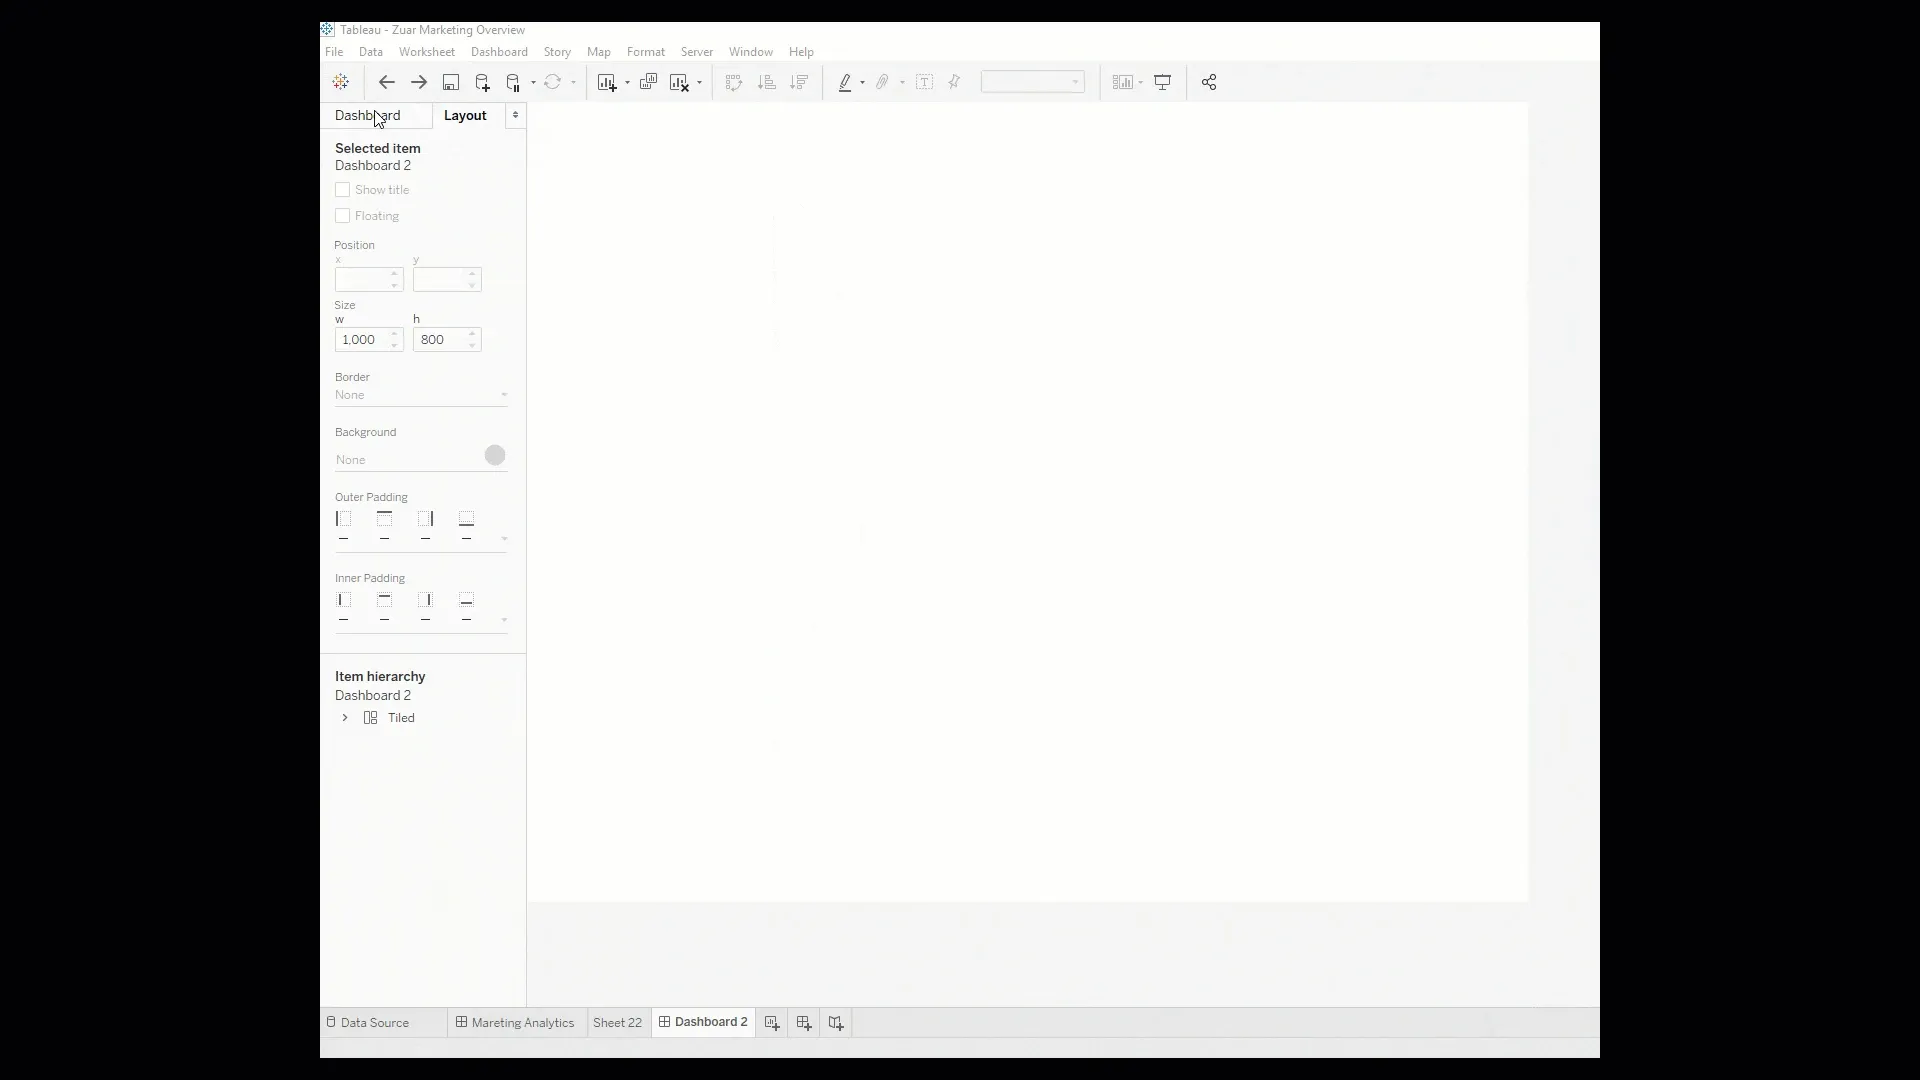
1. Drag and Float 2 horizontal and 2 vertical containers onto your dashboard. (Creating 4 quadrants)
HOTKEY ALERT: Holding Shift while dragging out new container objects will auto-formate them to float.

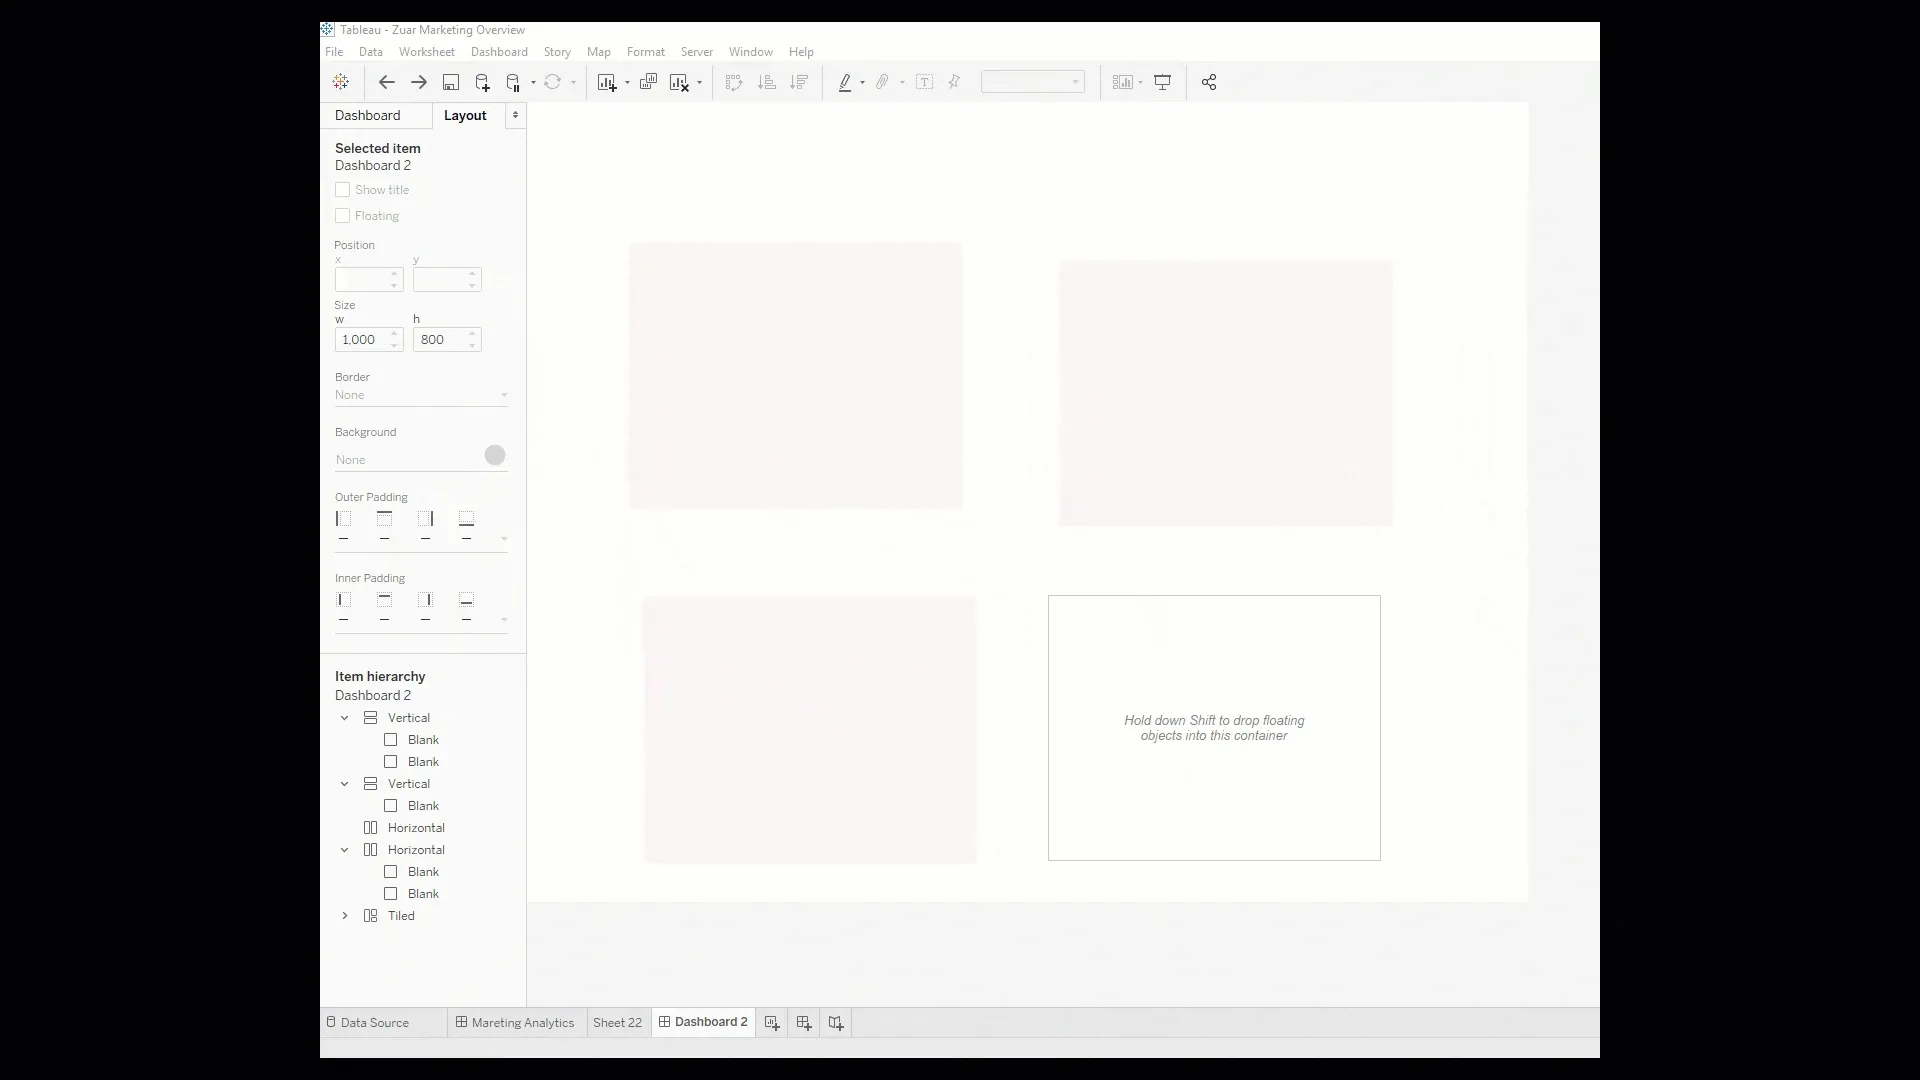
2. Fill all but one container with Blank Objects and set padding to 0:
- Drag 1 blank object into the top left vertical container. Set all padding to 0.
- Drag 2 blank objects into the top right vertical container, stacking vertically. Set all padding to 0.
- Drag 2 blank objects into bottom left horizontal container, stacking horizontally. Set all padding to 0.
3. Stack and arrange all containers within the bottom right horizontal container (I've colored the blanks for visual discrepancy):
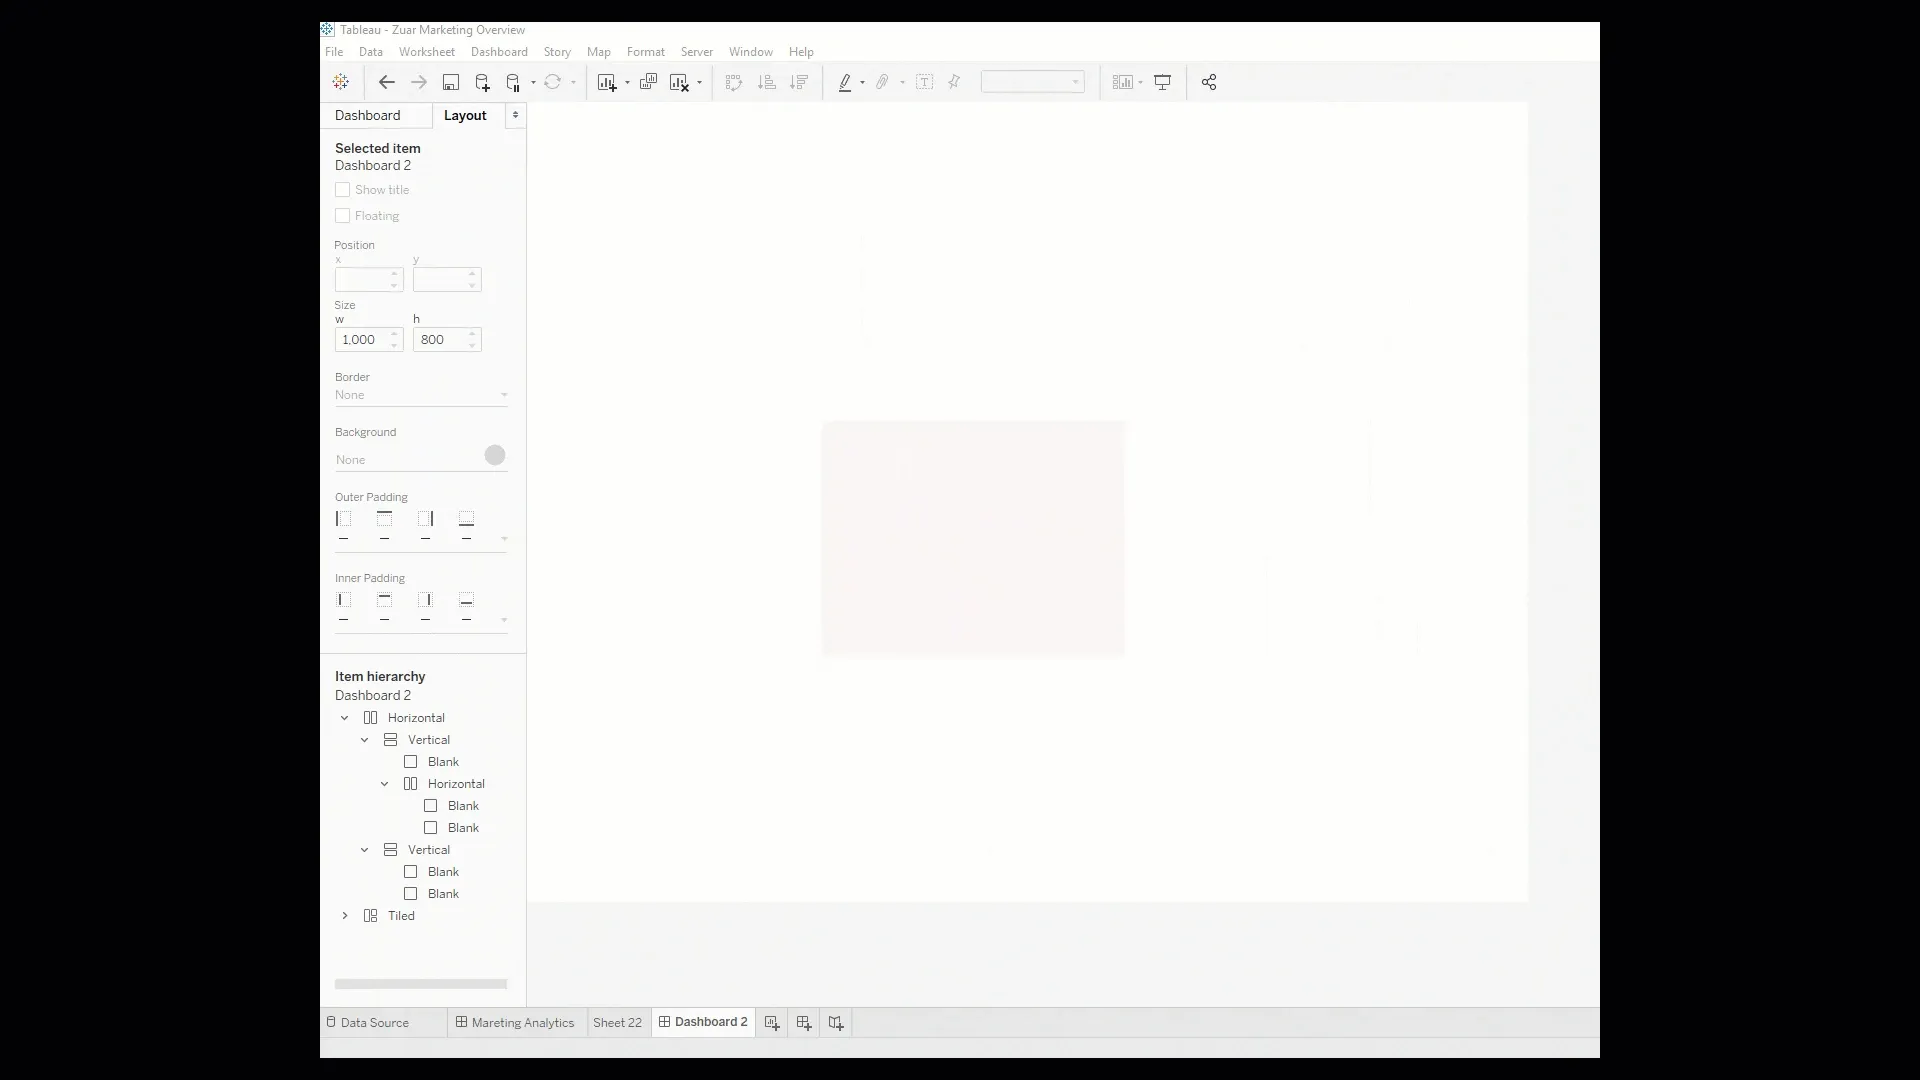
- Grab the entire bottom left Horizontal container (as opposed to gray, the blue container outline means everything is selected. You may have to double click the handlebar) and drop it into the bottom of top left Vertical container.
- Grab the entire top right Vertical container and drop it into the bottom right Horizontal Container
- Grab entire top left container and drop it on the left side of the bottom Horizontal container.
- Remove all default padding that has been auto created...
4. Create the Shadows. This is where you can really begin making it your own. I'll show a basic example but feel free to mess with dimensions to meet your needs:
- Fix the bottom left most containers width to 10px and then fix the entire bottom row height anywhere from about 5-10px.
- Color the bottom right container black with 10% Opacity.
- Fix top right containers height at 10px and then fix the entire right column width anywhere from about 5-10px
- Color the bottom right container black with 10% Opacity.
There you have it! Replace the blank in the shadowed container with sheets, text objects, images, etc. and it will now have a drop shadow. The size of the container is adjustable (just grab the whole thing with a tripple click and stretch) and it can even be dropped into a tile position if you don't like floating.
Let me just tell you from experience that this is a great way to add a little extra visual something to your dashboard but is not immensly scalable. Do what you will with this new found shadow!
Why Use Containers?
Containers help maintain the order and structure of your Tableau dashboard. Combined with drop shadows, they offer a quick, convenient way to organize the layout of all of your information. Besides offering formatting benefits, containers allow dashboard users to move multiple objects at once. Containers also allow you to keep an easy, efficient consistency throughout a series of dashboards. Using containers along with drop shadow effects, you can have better control, functionality, and usability of your Tableau data.
How Buttons Can Help
I'd like to highlight one last drop shadow feature, which has been made infintely easier with the Tableau 2018.3 Button Object. Drop shadows on buttons can make them pop. You can obviously use a design tool like Adobe Illustrator and create amazing buttons. But what if I want a fast, low cost or no cost solution?
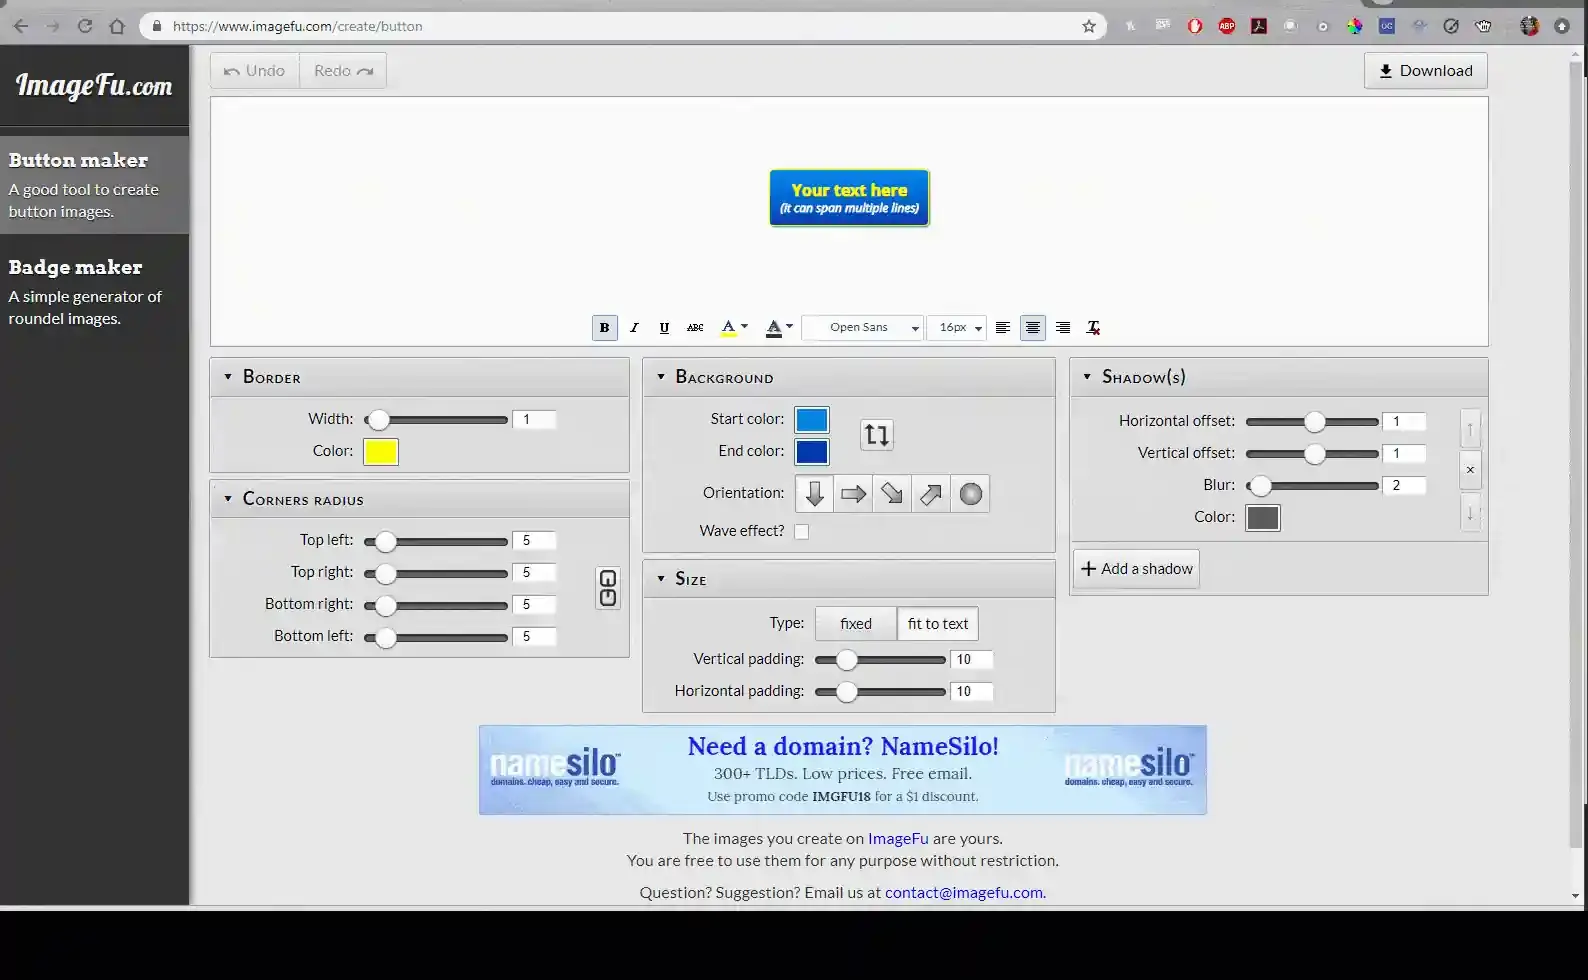
- Go to this button generator: https://reviewgrower.com/button-and-badge-generator/ (if you don't care so much about drop shadow and want icons, I've also used this https://buttonoptimizer.com/)
- Customize your button and export to png.
- Upload to your dashboard and look like a button pro.
We love sharing this information internally and with our community. If you have other creative methods for shadows or similar effects, let us know!
What Are The Different Types of Drop Shadows?
Subtle Drop Shadows
This can be used to differentiate text from the background as a strategic graphic design element with a purpose. The basic solution is to make it easier to read by implementing more contrast.
It can also give a small glow to the image, but it's vital to ensure that the shadows are not too harsh to the point of making a floating effect.
Hard Edge Drop Shadow
Using a hard edge shadow behind the text can give off a retro vibe, especially if it's slightly separated from the text. It's an excellent way to draw more attention to particular words or images.
Long Drop Shadows
This is a very trendy design, and if used properly, can be a significant design element. It utilizes the flat icon and reflects a minimalist look. These long shadows provide movements to the icon and offer a unique and simple design element that doesn't cause too much distraction.
Why Drop Shadows Are Important
The depth effects added by drop shadows do much more than just making your graphics look nicer. By creating a container in Tableau and adding drop shadow effects, your information becomes more visually pleasing and easier to read. When looking at flat charts or graphs, it’s not always easy to discern what the information is trying to convey. Adding depth effects through drop shadows help to fix this problem by making certain data stand out that you may have glanced over in a more “standard” graphic.
While drop shadows tend to be overused in the graphic design world, there is no reason not to utilize them in your Tableau dashboard. Add depth to your containers with drop shadow effects to improve the readability and usability of your data.
Take advantage of everything Zuar offers to companies using Tableau!
- Zuar Portal is an easy way to provide branded Tableau dashboards. Monetize your data or provide secure access outside of corporate firewalls.
- Transport, warehouse, transform, model, report & monitor. Zuar Runner gets data flowing from hundreds of potential sources into a single destination for Tableau.
- Zuar's team of Tableau-certified consultants can take the headaches out of even the most complex projects.